DIY · été
Revamp an old chest of drawers (paint + handles)
 Reference tutorialWeldomSee the tutorial →
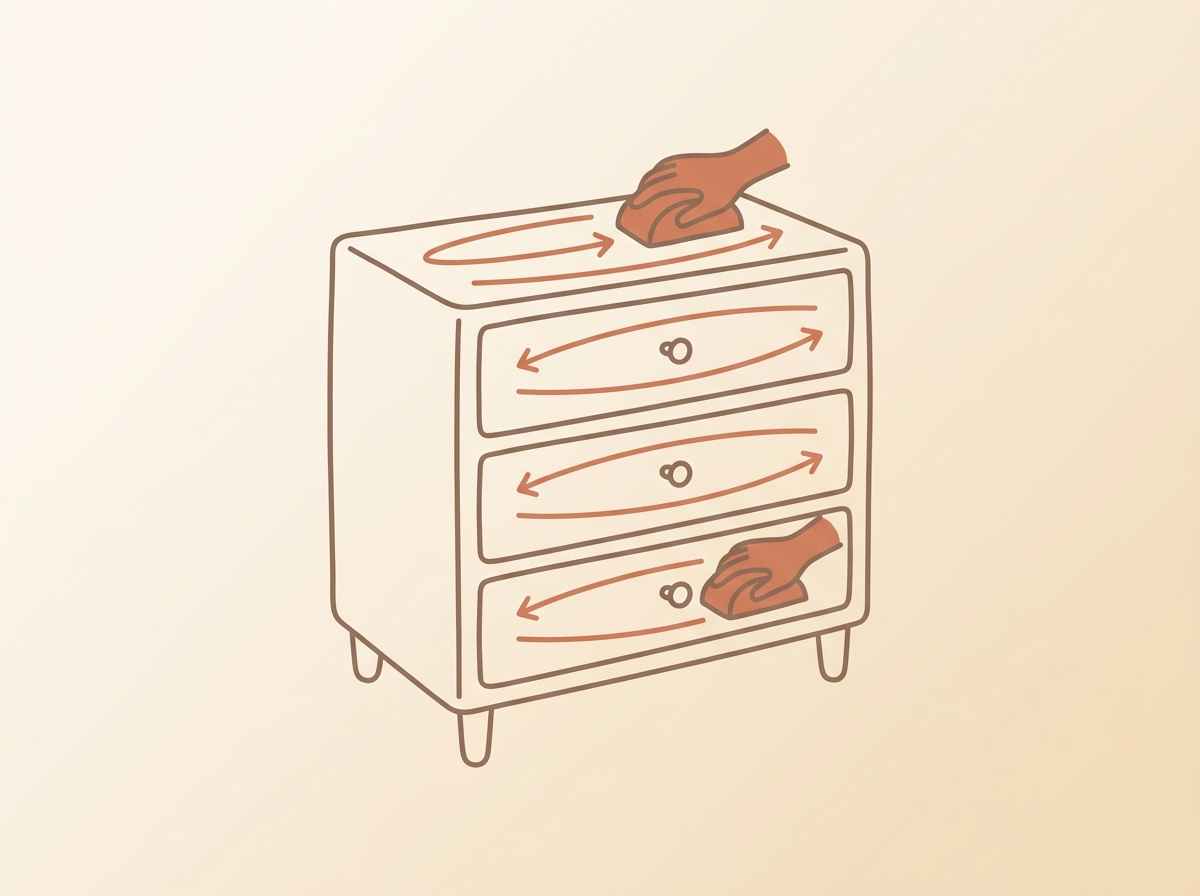
A dated but solid chest of drawers is a goldmine: a coat of paint and new handles are enough to make it look brand new, for the price of a few tins. On each diagram below, the highlighted zone shows the current step.
What you need
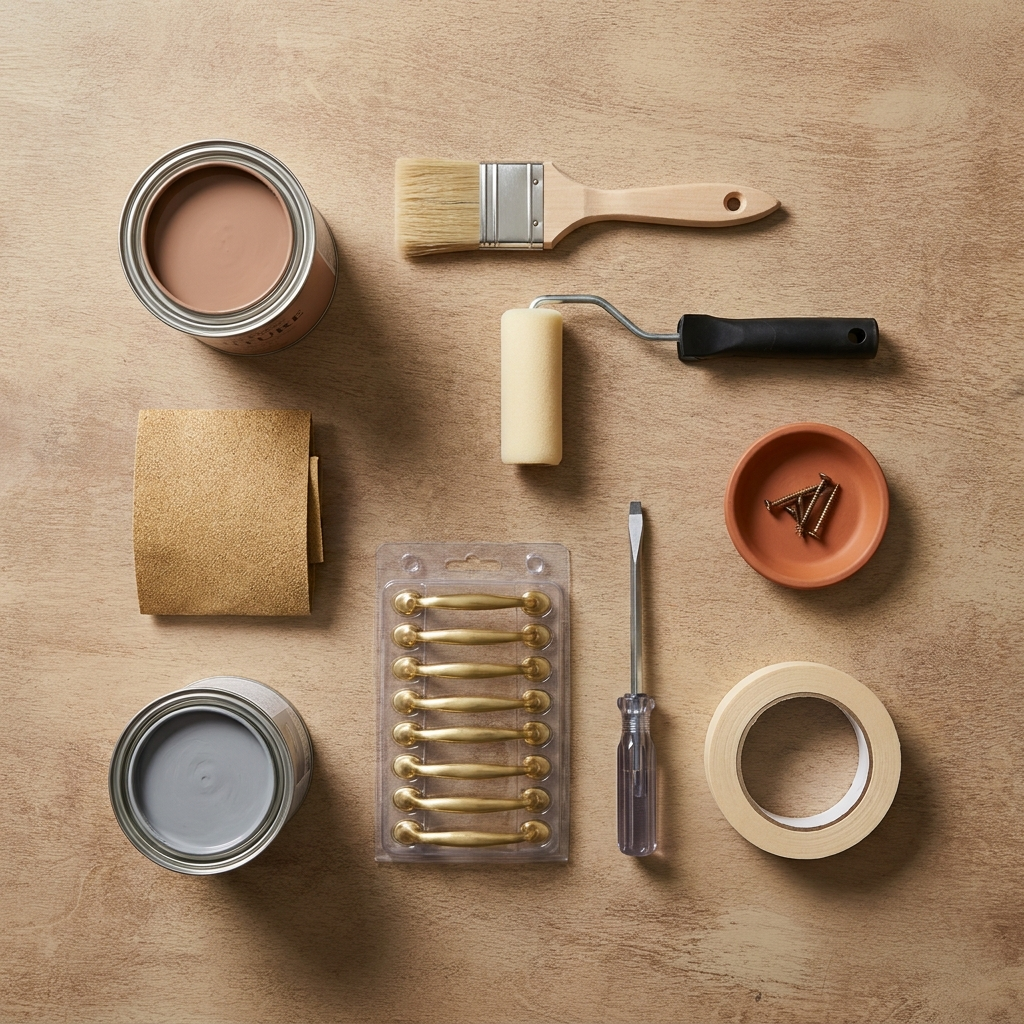
- An old chest of drawers to revamp
- Bonding primer + furniture paint (~€20)
- Medium + fine sandpaper
- Flat brush + small foam roller
- Set of new handles (~€10)
- Screwdriver, cloth, masking tape
Step by step
Sand and clean
Remove the handles and drawers. Lightly sand all faces with medium grit to break the varnish, then dust off. On a very smooth or laminate piece, a bonding primer stops the paint flaking.
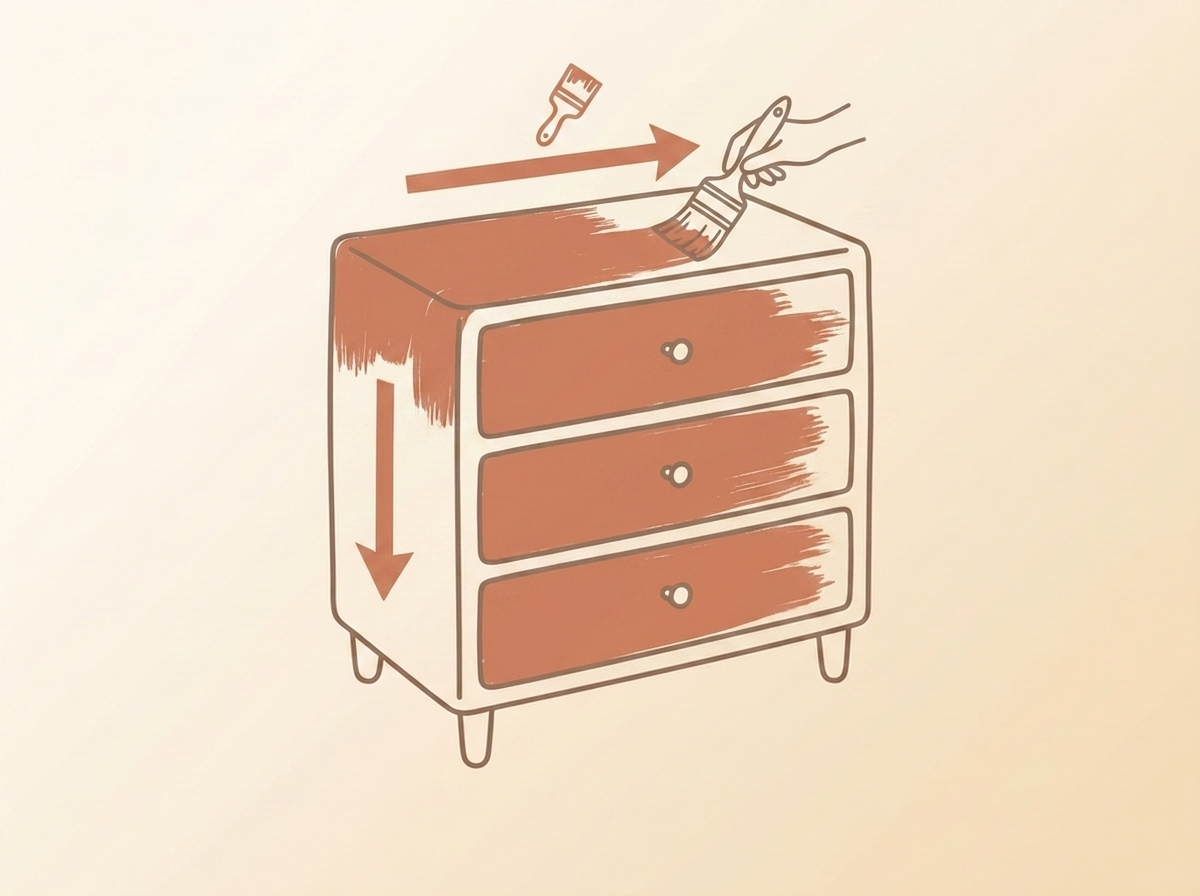
Apply the first coat
Paint corners with the brush and large areas with the roller, in a thin even coat. Two thin coats beat one thick drippy one. Let it dry well between coats.
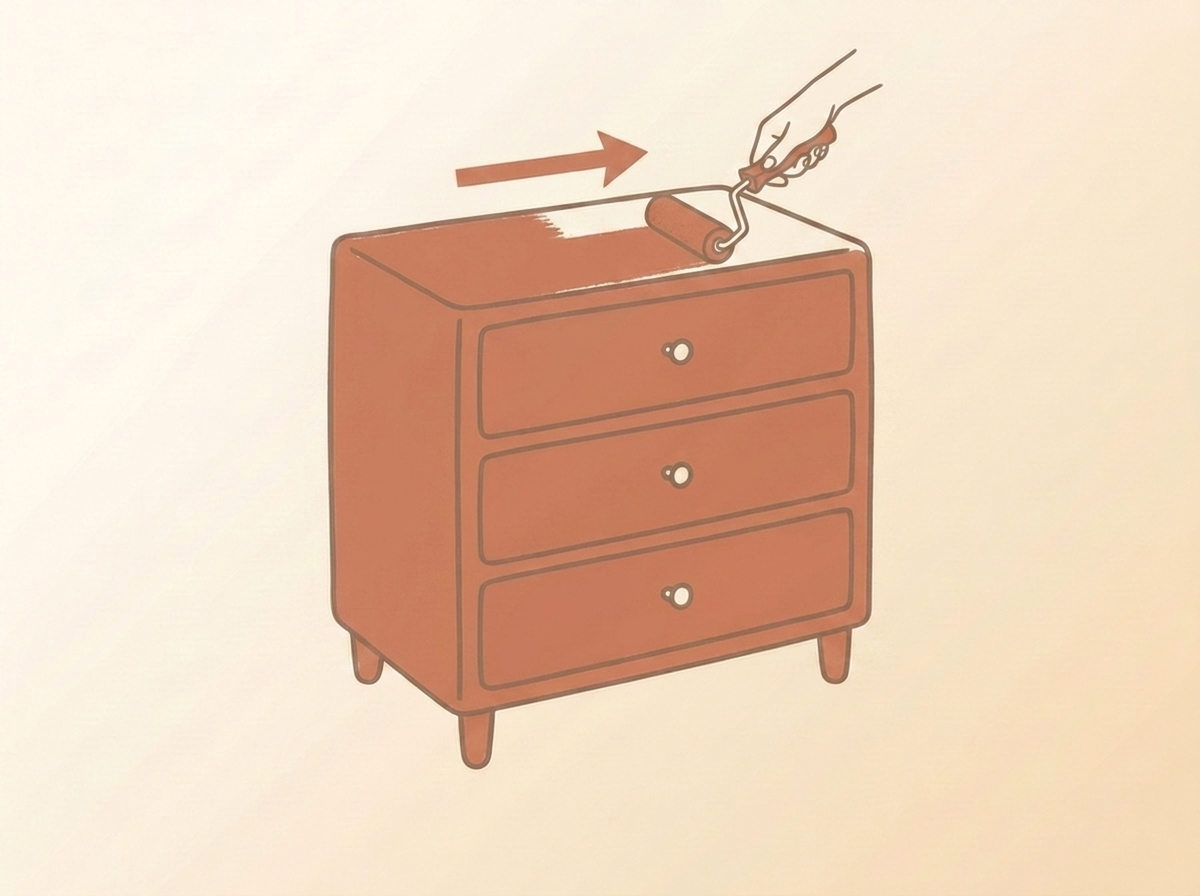
Second coat
Once the first coat is dry, sand very lightly with fine grit for a smooth finish, dust off, then apply the second coat for full even colour. Let it cure before handling.
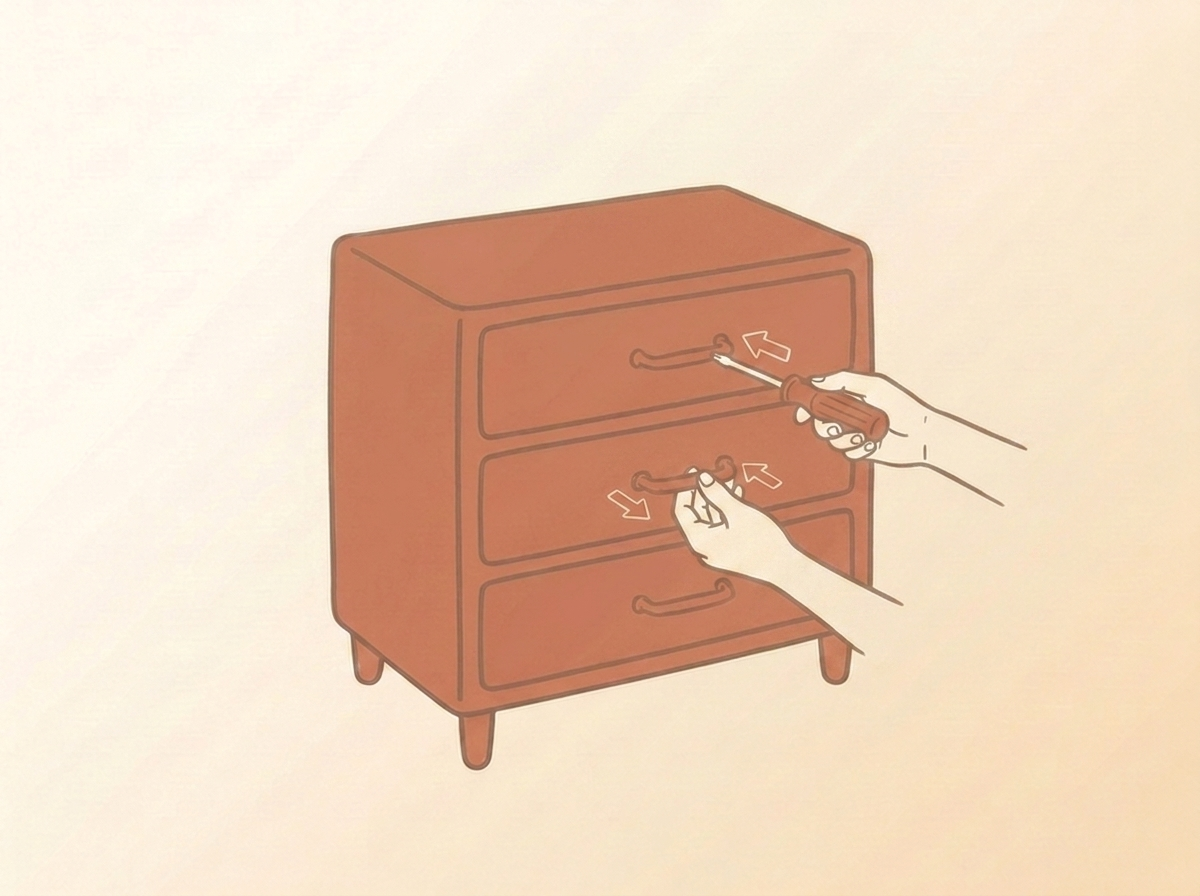
Fit the new handles
Put the drawers back and screw on the new handles (brass or fluted for the on-trend look). If the hole spacing differs, drill new holes and fill the old ones with wood filler before painting. It's the detail that changes everything.
The detail that changes everything
Success comes down to prep: a well-sanded (or primed) piece and two thin coats give a pro, durable finish that won't flake. And good handles are 50% of the effect.
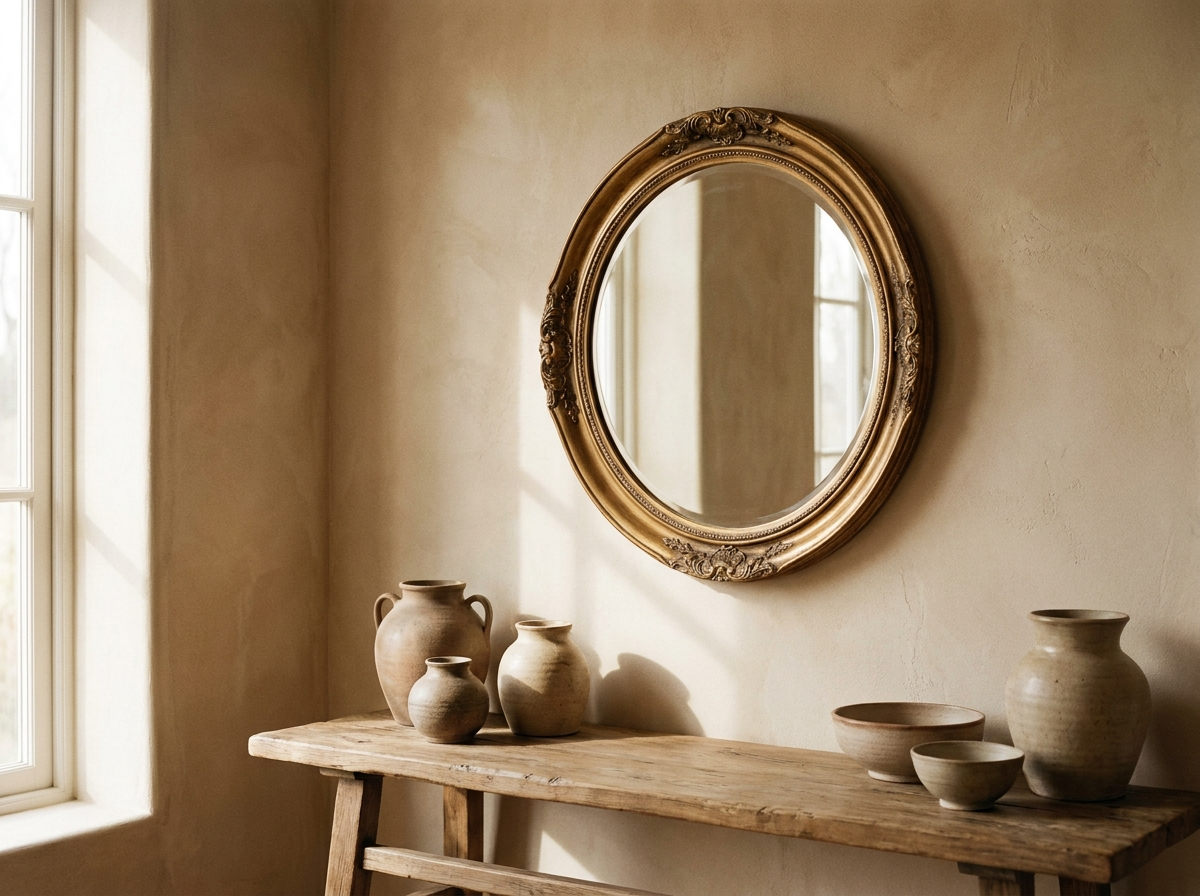
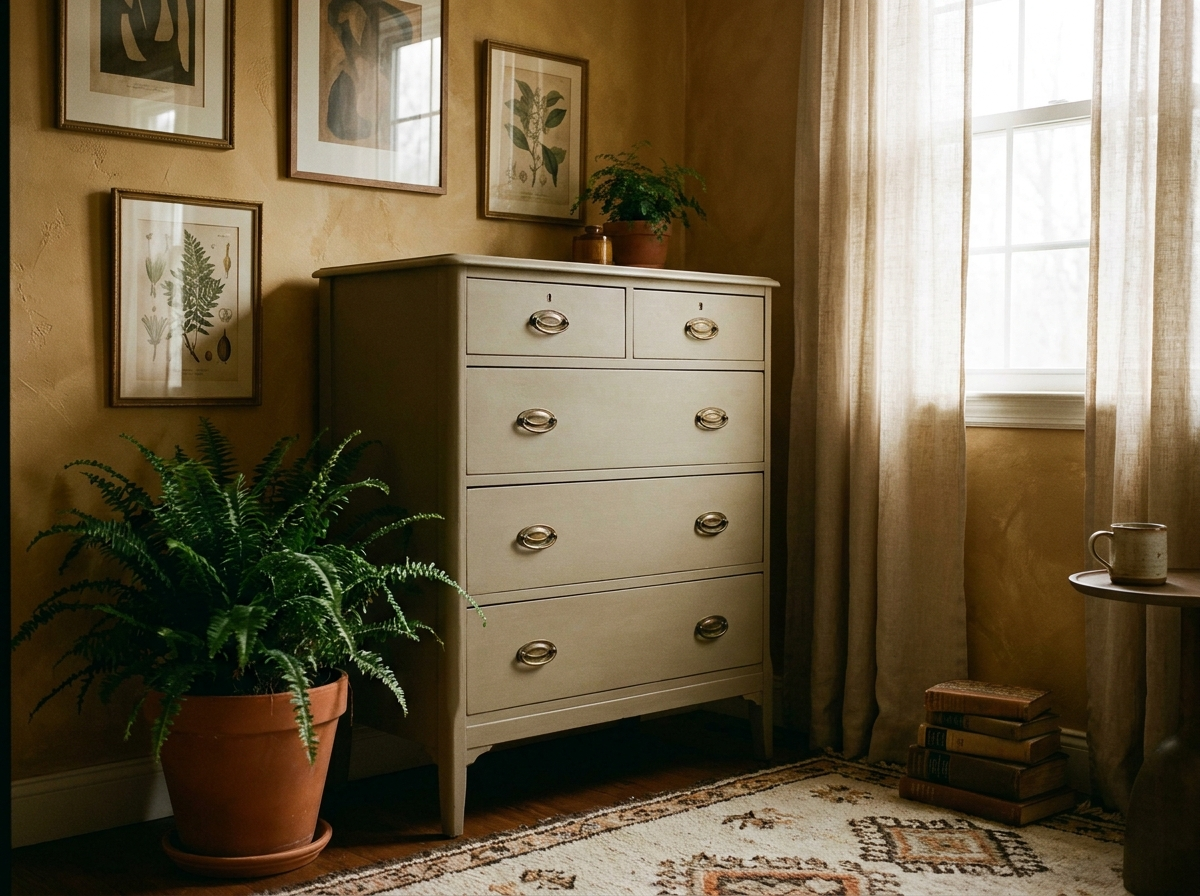
Where does it look best?
In a bedroom, entryway or living room. Dare a deep shade (green, terracotta, blue) to turn a plain piece into a statement. Just avoid glossy paint, which shows flaws.
Step-by-step inspired by a tutorial spotted on YouTube. Work in a ventilated area.
Try it right at home
Snap a photo of your space and preview the result in seconds. Plus find all our decor tutorials on the app, and much more.