DIY · été
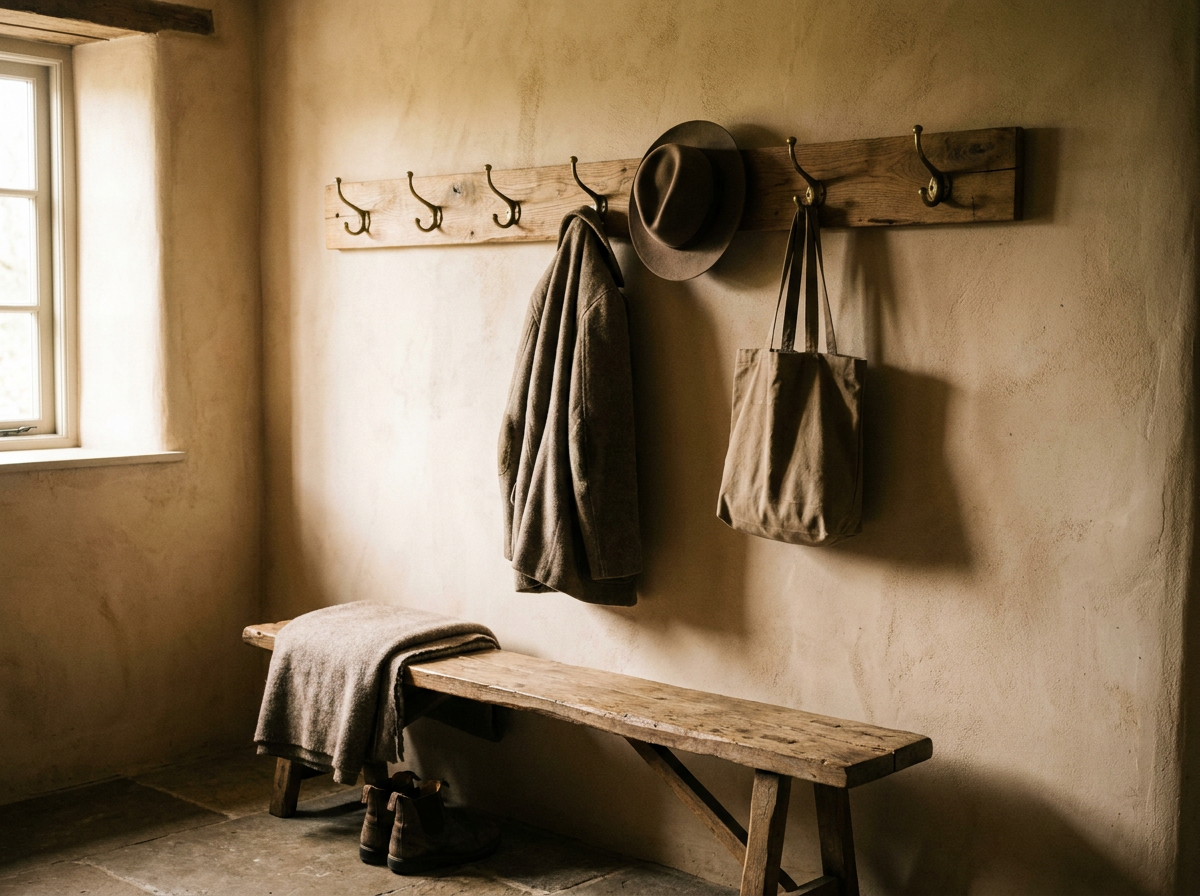
A wooden wall coat rack, in one hour
 Reference tutorialBricoStuffSee the tutorial →
A board, a few hooks, and an entryway goes from clutter to organised. This wall coat rack takes an hour and frees the floor, perfect in small spaces. On each diagram below, the highlighted zone shows the current step.
What you need
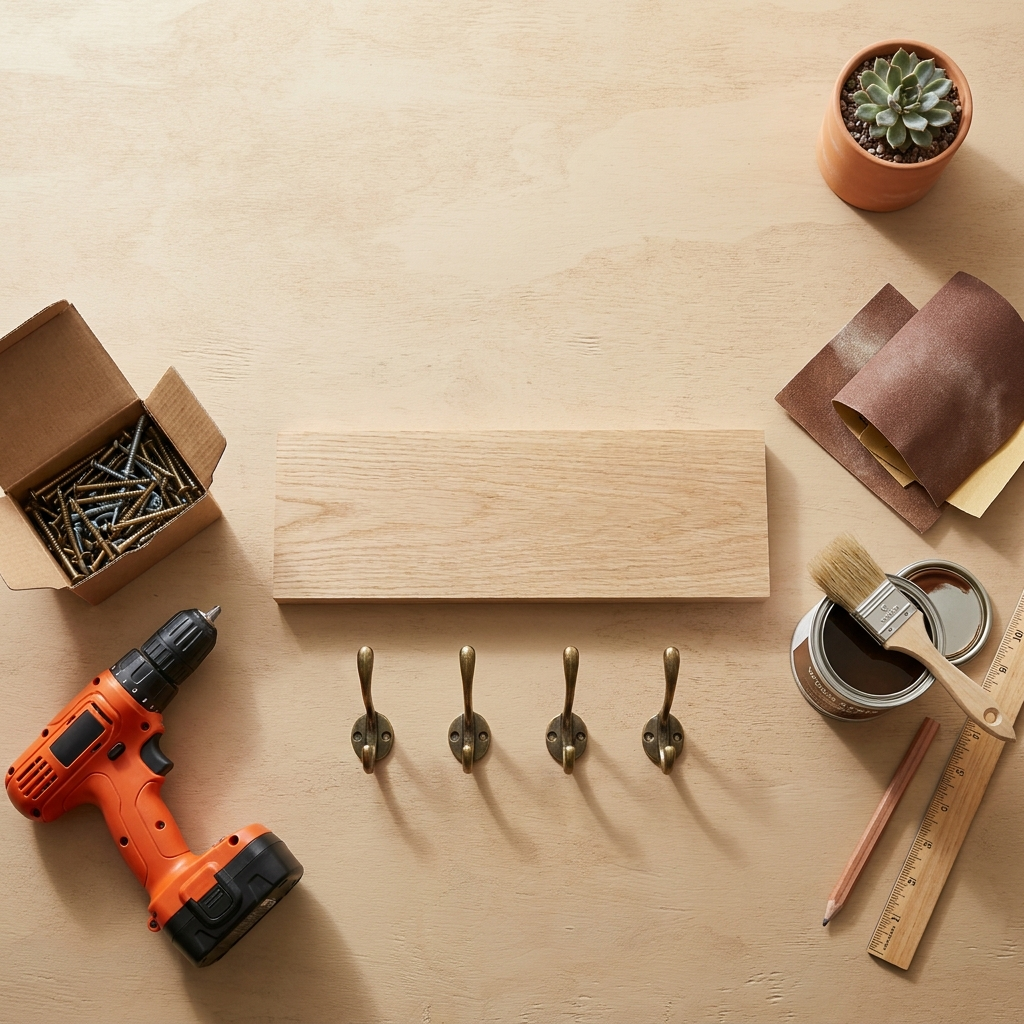
- A wooden board (length to suit the number of hooks)
- A row of hooks (brass looks great, ~€10)
- Wood screws + suitable wall plugs
- Drill-driver + bit
- Sandpaper + stain/oil (optional)
- Spirit level, tape measure, pencil
Step by step
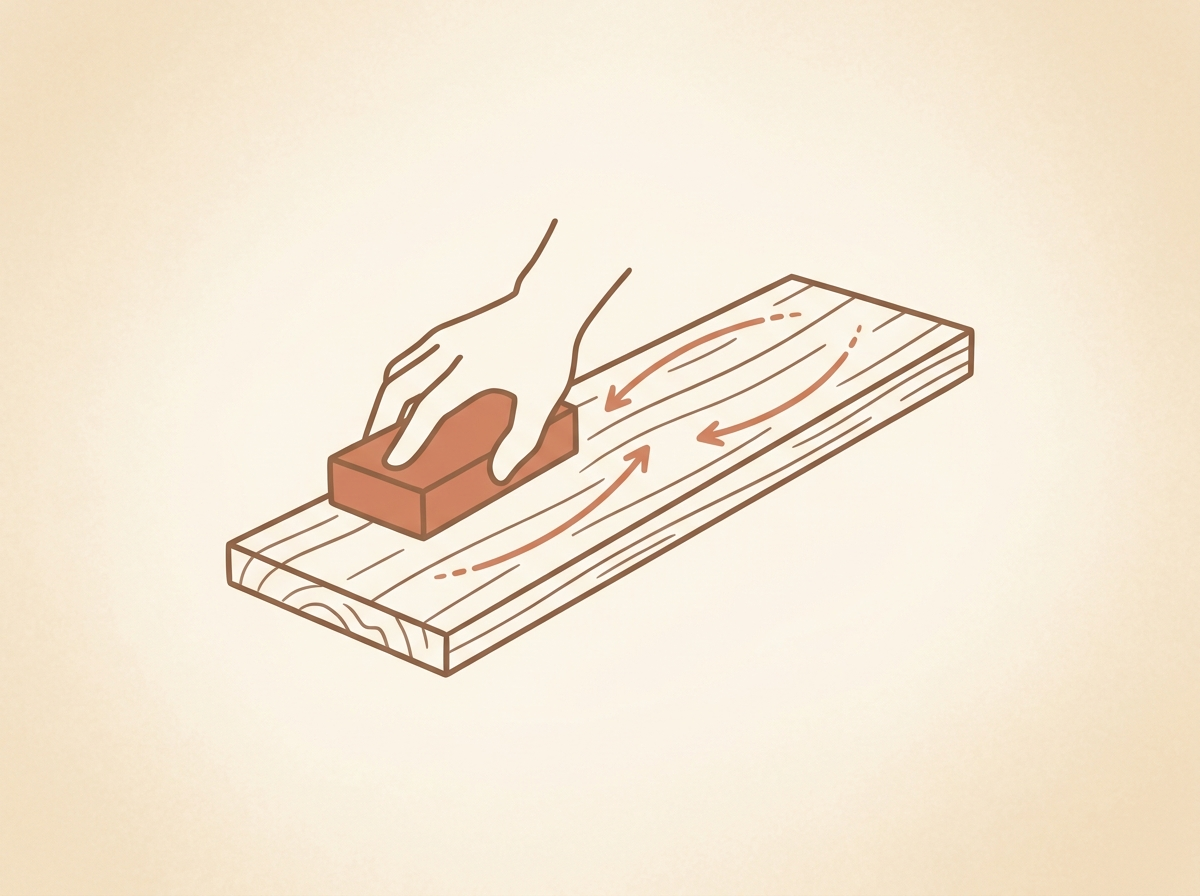
Sand the board
Pick a nice board (oak, or a raw board sanded). Sand faces and edges with medium then fine grit. Apply stain or oil if you want to warm the tone and protect the wood.
Mark and drill
Measure and mark the hook positions, evenly spaced and centred. Pre-drill lightly at the marks so the hook screws go in straight, without splitting the wood.

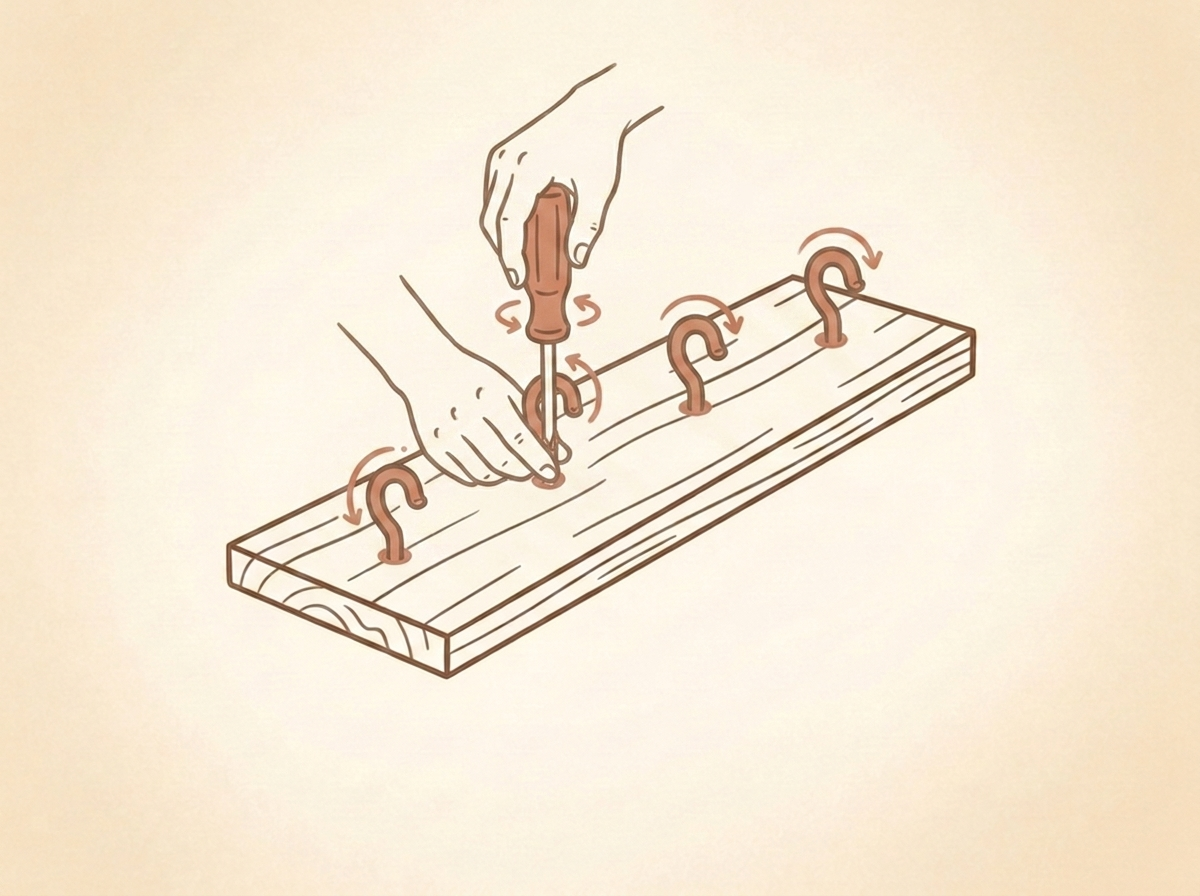
Screw on the hooks
Screw each hook onto its marks. Check they're all aligned and at the same height: that's what makes it look clean. Tighten firmly, these hooks will carry weight.
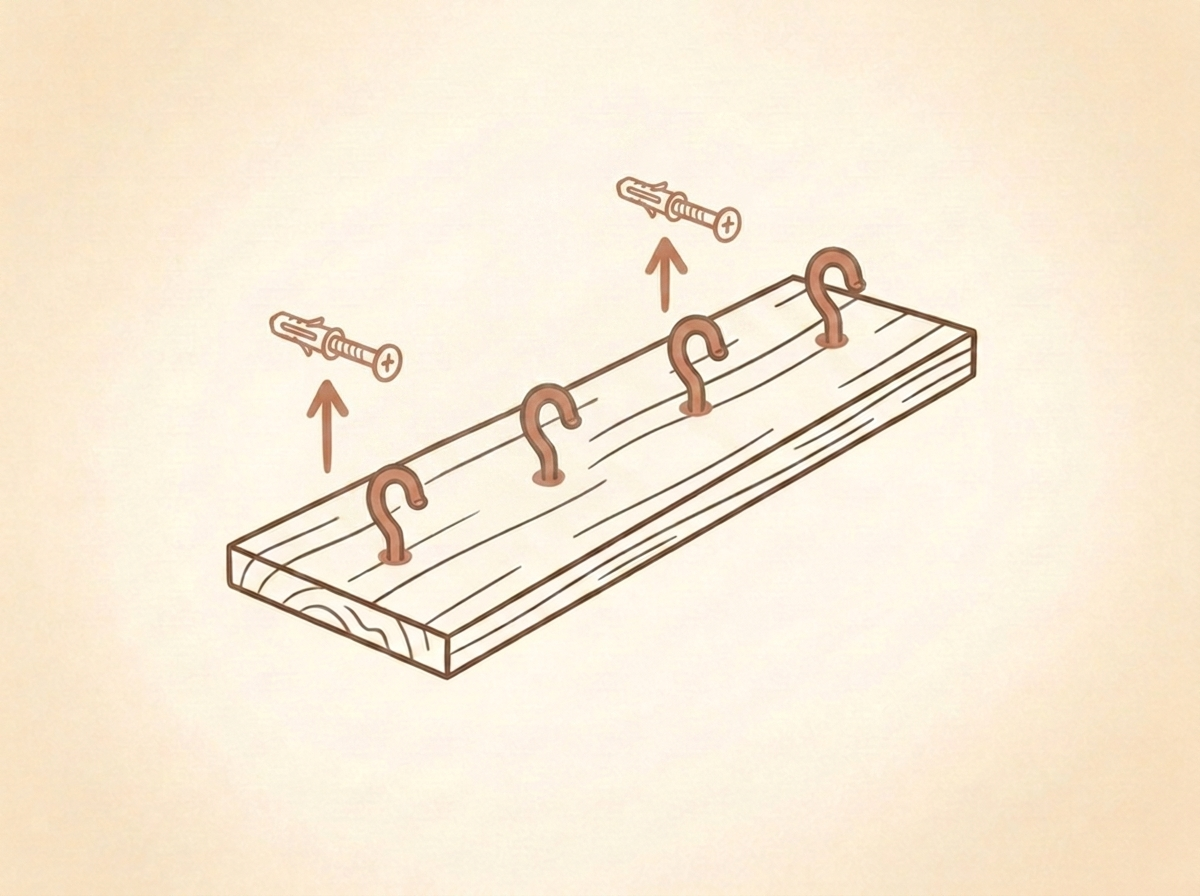
Mount on the wall
With the spirit level, draw the horizontal, drill, insert wall plugs suited to your wall, then screw the board on. For heavy coats, aim for a stud or strong plugs. Hang up your coats, done.
The detail that changes everything
It all comes down to hook alignment and the choice of hooks: straight brass hooks alone make a simple board elegant. And good sanding avoids splinters on your coats.
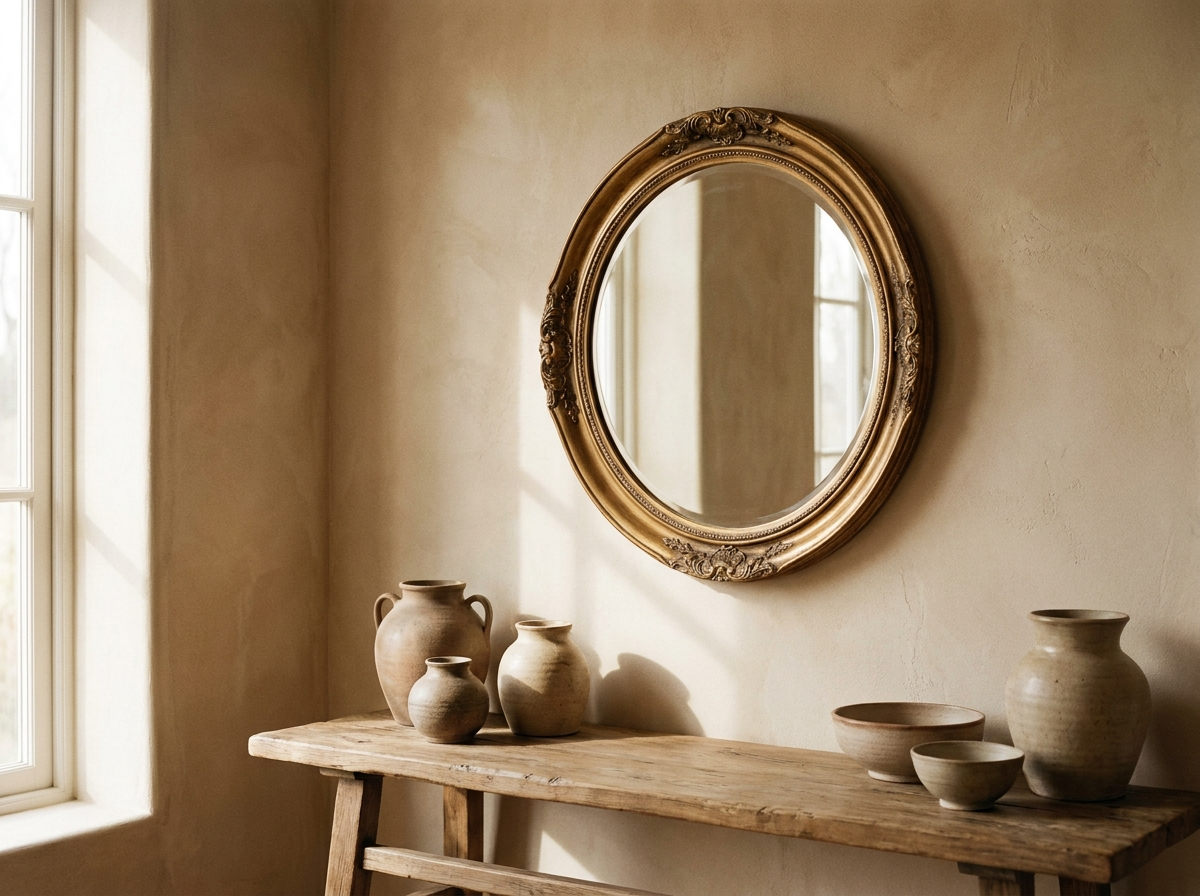
Where does it look best?
In the entryway, above a bench, but also in a child's room or a bathroom (for towels). Play with mismatched hooks for a thrifted look, or all identical for a clean finish.
Step-by-step inspired by a tutorial spotted on YouTube. Check for cables before drilling.
Try it right at home
Snap a photo of your space and preview the result in seconds. Plus find all our decor tutorials on the app, and much more.