DIY · été
Wooden wall shelves in one afternoon
 Reference tutorialJohnSteelTVSee the tutorial →
Solid wood wall shelves are storage that doubles as decor, cut to your exact width, for a third of the shop price. Two hours, a drill, and you're done. On each diagram below, the highlighted zone shows the current step.
What you need
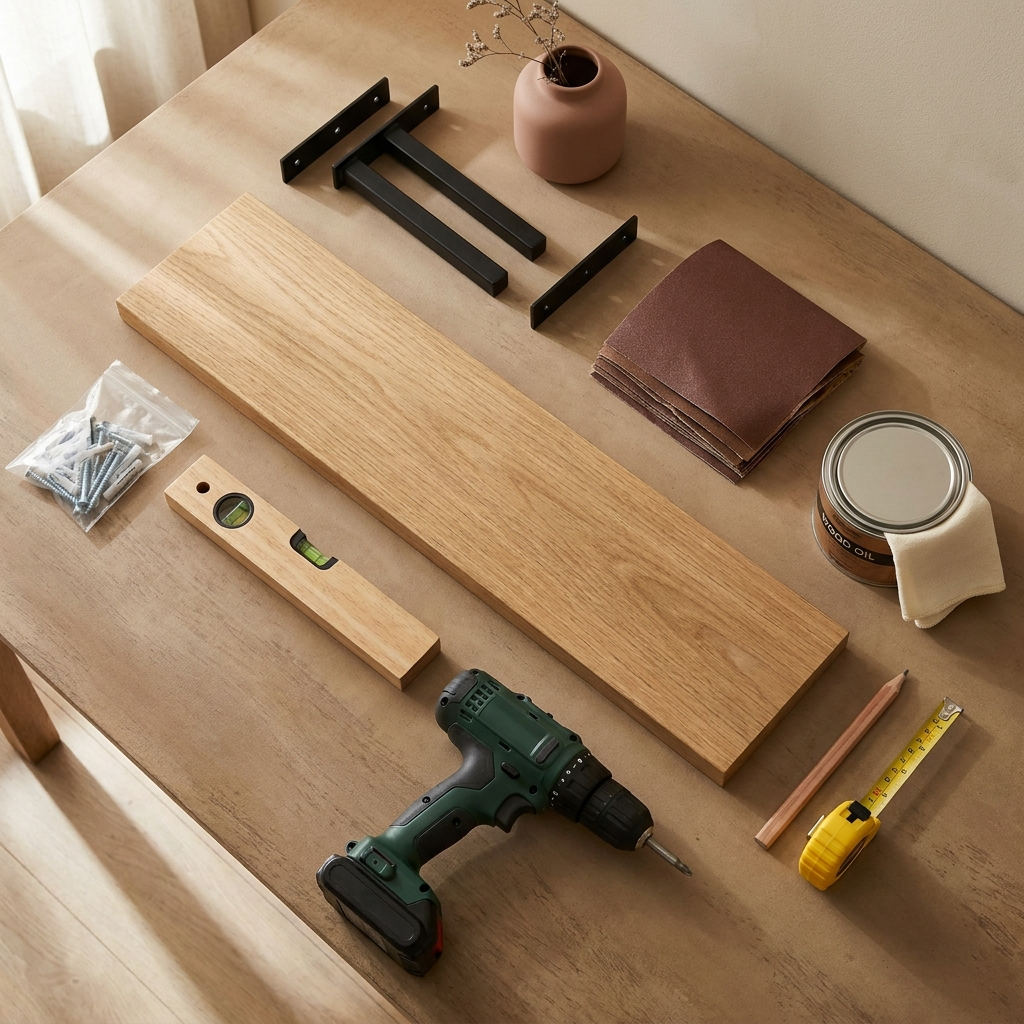
- A solid wood plank (oak, beech…), ~3 cm thick (~€18)
- 2-3 metal brackets (depending on length) + screws
- Wall plugs suited to your wall
- Drill-driver + bit
- Spirit level, tape measure, pencil
- Sandpaper + oil or stain (optional)
Step by step
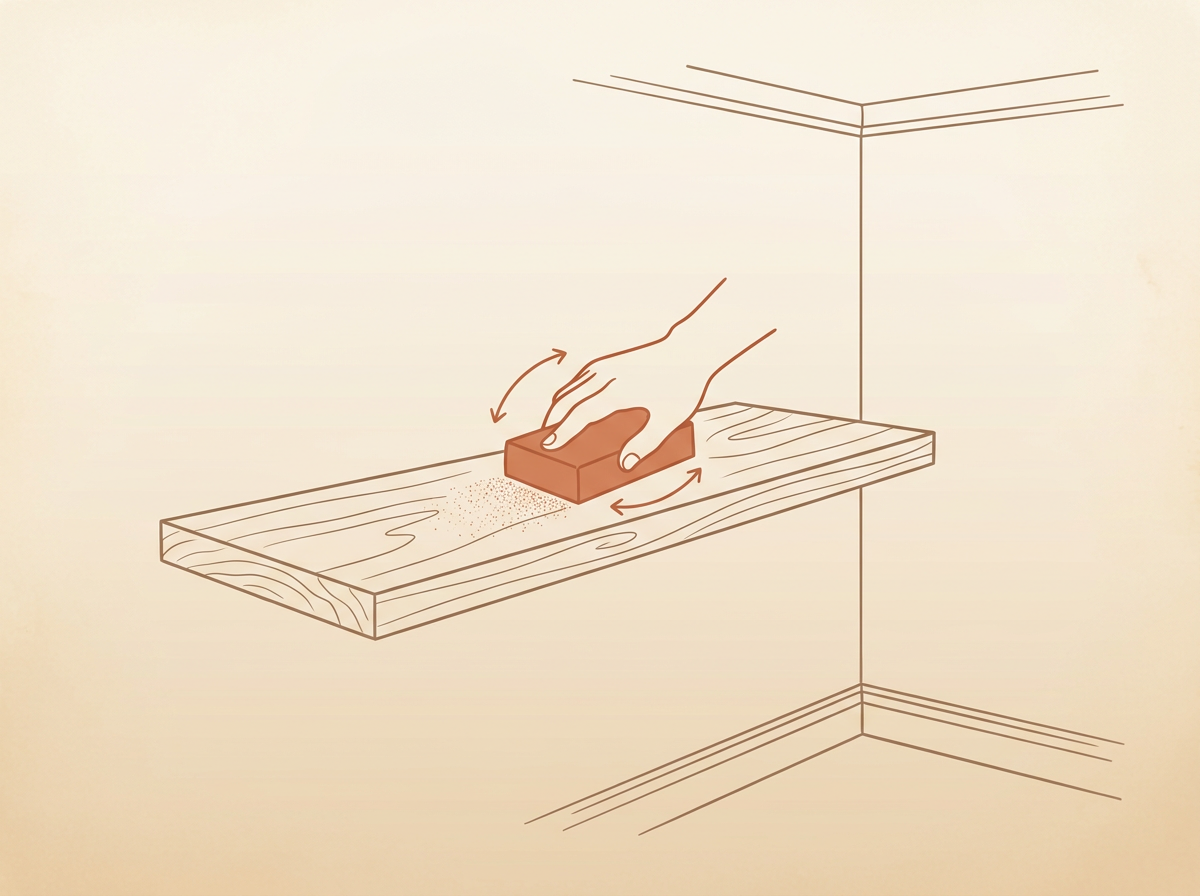
Cut and sand the plank
Cut the plank to length (or have it cut in store), then sand the faces and edges, medium then fine grit. Apply oil or stain if you want to warm up and protect the wood.
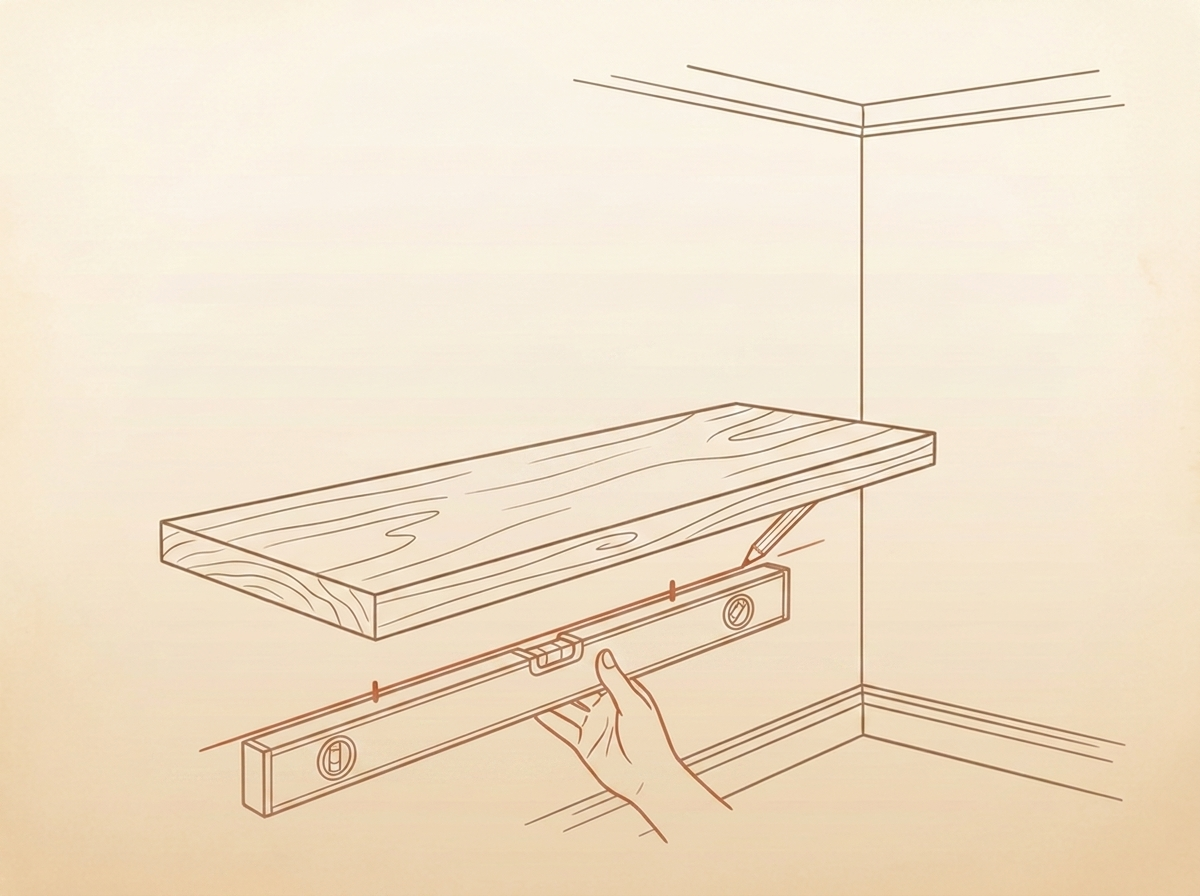
Mark the level on the wall
At your chosen height, draw a perfectly horizontal line with the spirit level, then mark the fixing points. Space the brackets evenly (one near each end, ~10 cm from the edge). A skewed line and the whole shelf will lean.
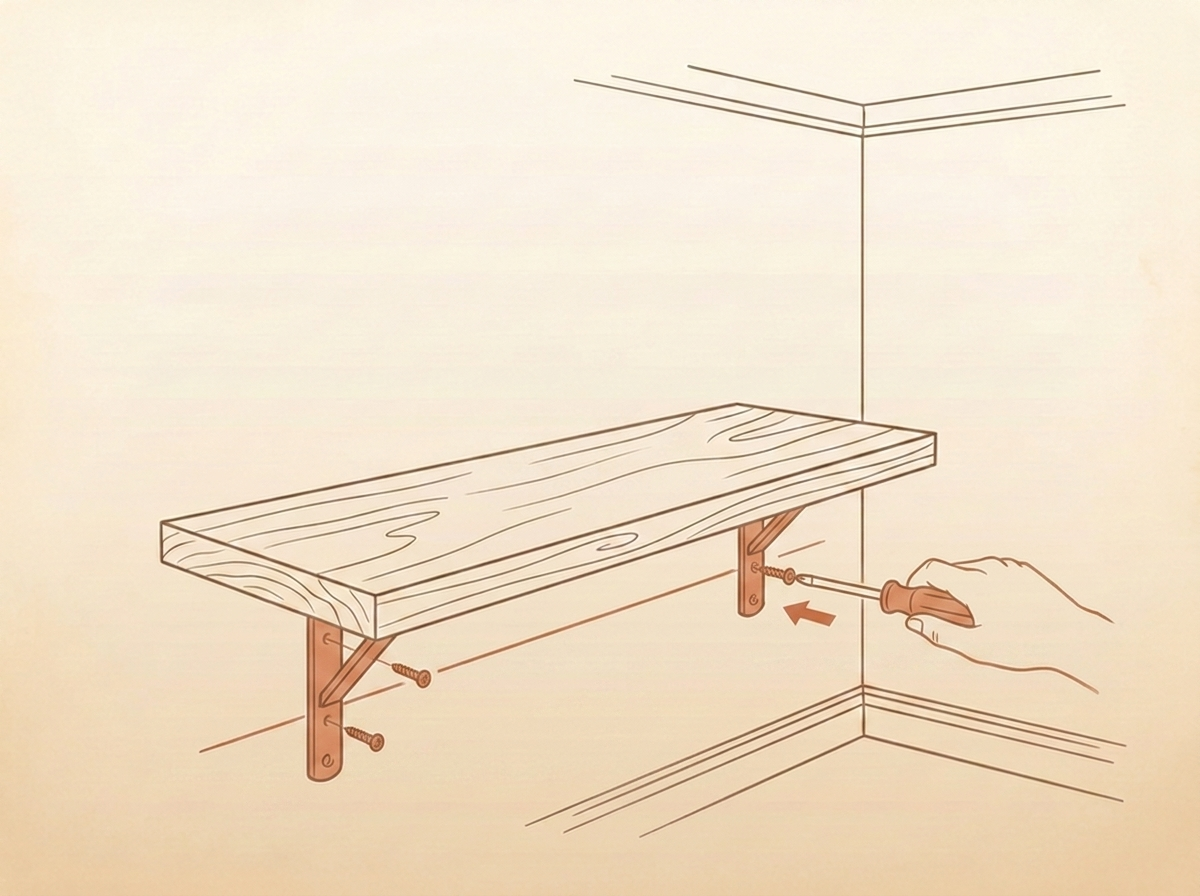
Screw the brackets
Drill at the marks, insert wall plugs suited to your wall (plasterboard, brick, concrete), then screw the brackets on. Check the level one last time between the two supports before fitting the plank.
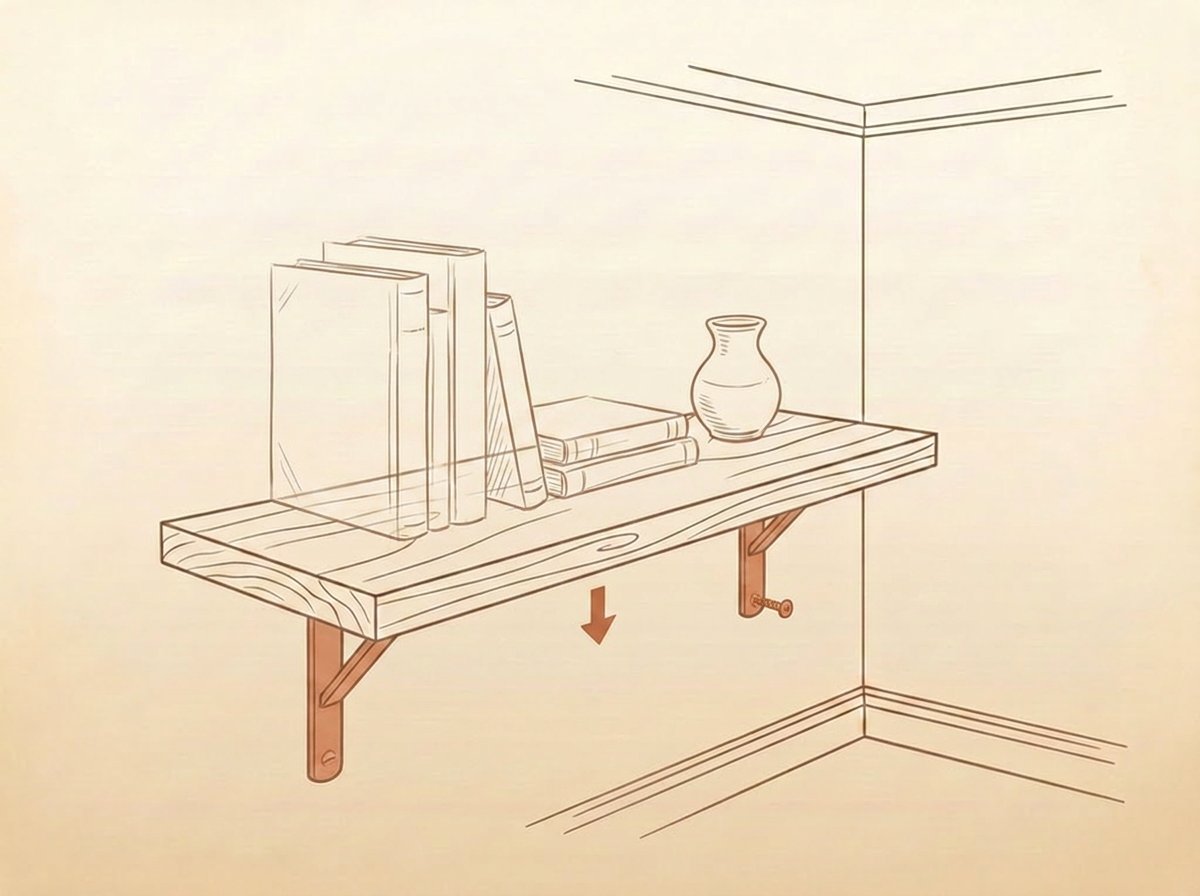
Set the plank and secure it
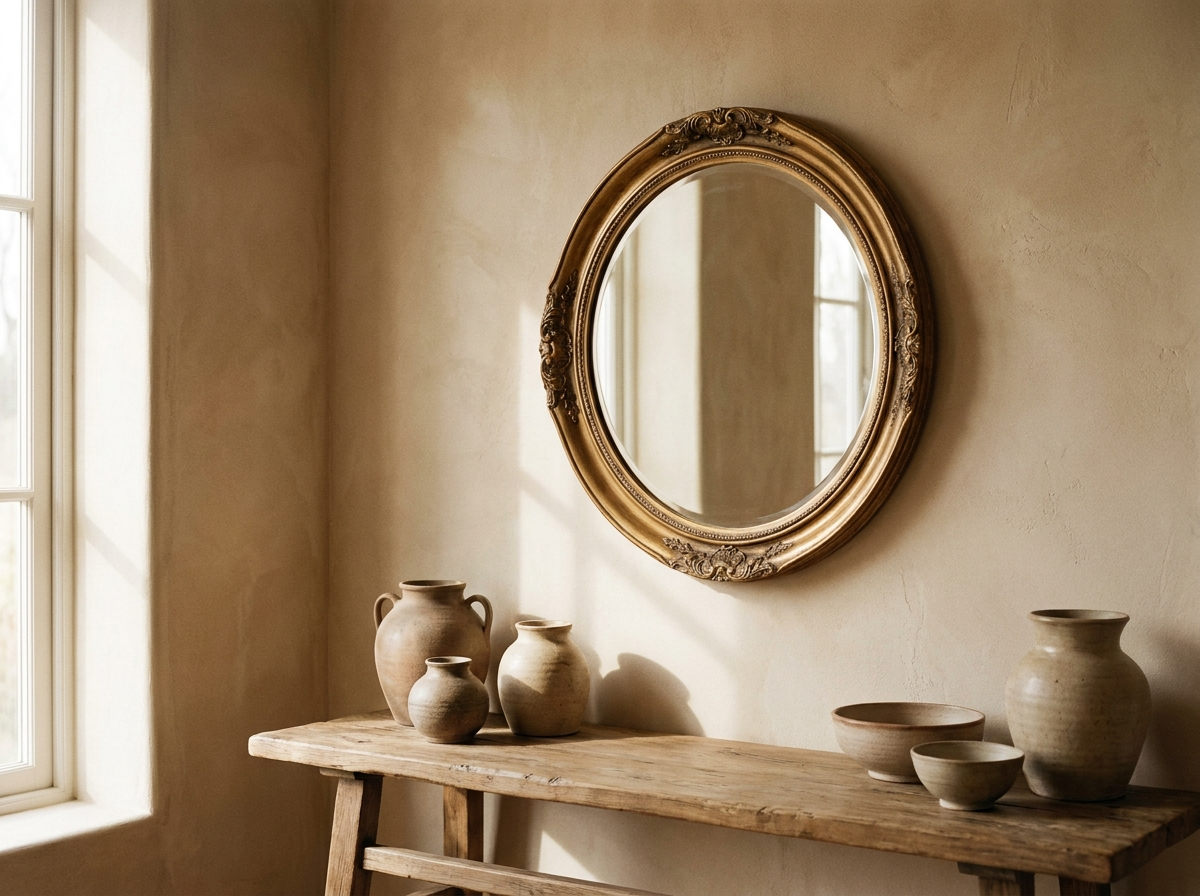
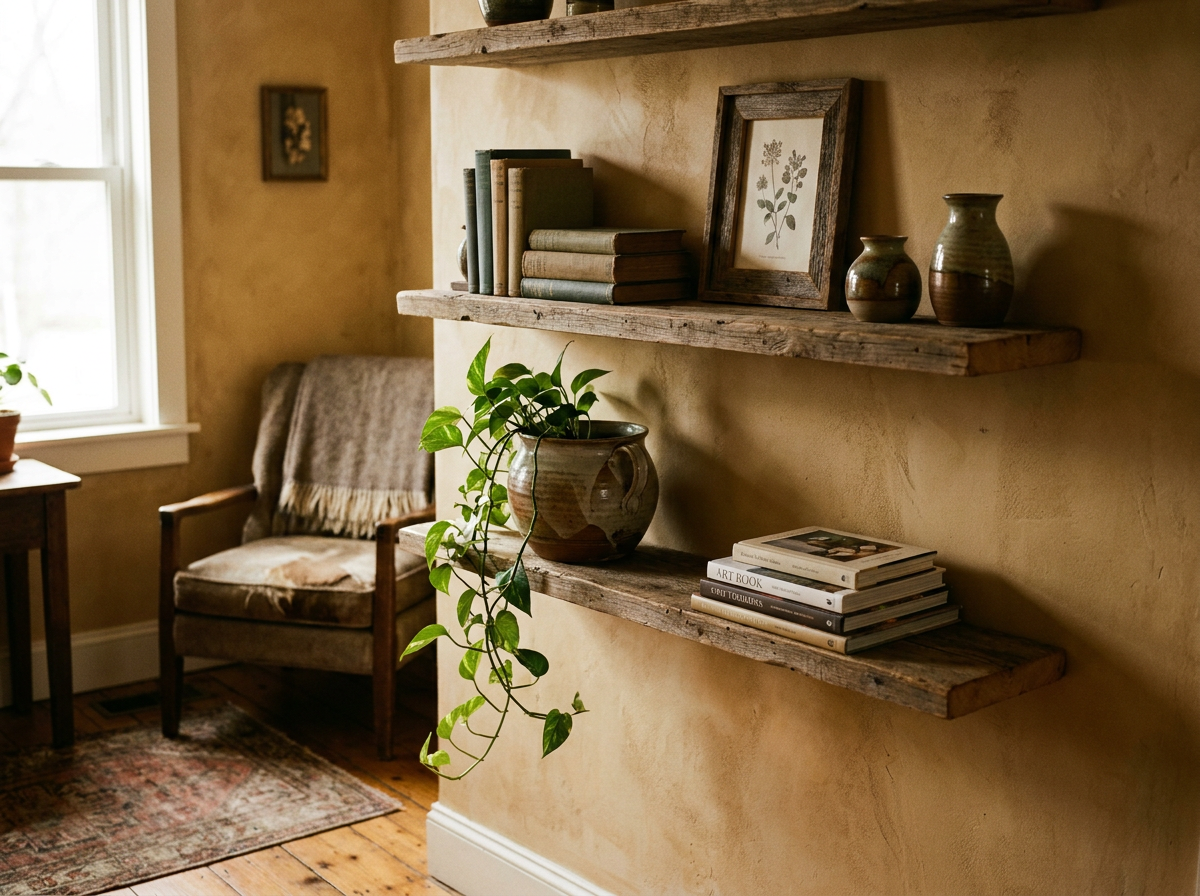
Set the plank on the brackets, centre it, then screw up from underneath into the wood (short screws, not through) so it can't shift. All that's left is styling: books, ceramics, a trailing plant.
The detail that changes everything
What separates a 'DIY-looking' shelf from a 'designed' one is the wood and the level: a real solid plank (not melamine), well oiled, and perfectly straight. The rest is just screwing.
Where does it look best?
Above a sofa, in an entryway, a kitchen or a home-office corner. Play with shelves in twos or threes, offset, for a graphic effect. Mind the weight: for books, choose sturdy brackets and screw into a stud or with good wall plugs.
Step-by-step inspired by a tutorial spotted on YouTube. Mind the drilling dust and check for cables/pipes before drilling.
Try it right at home
Snap a photo of your space and preview the result in seconds. Plus find all our decor tutorials on the app, and much more.