DIY · été
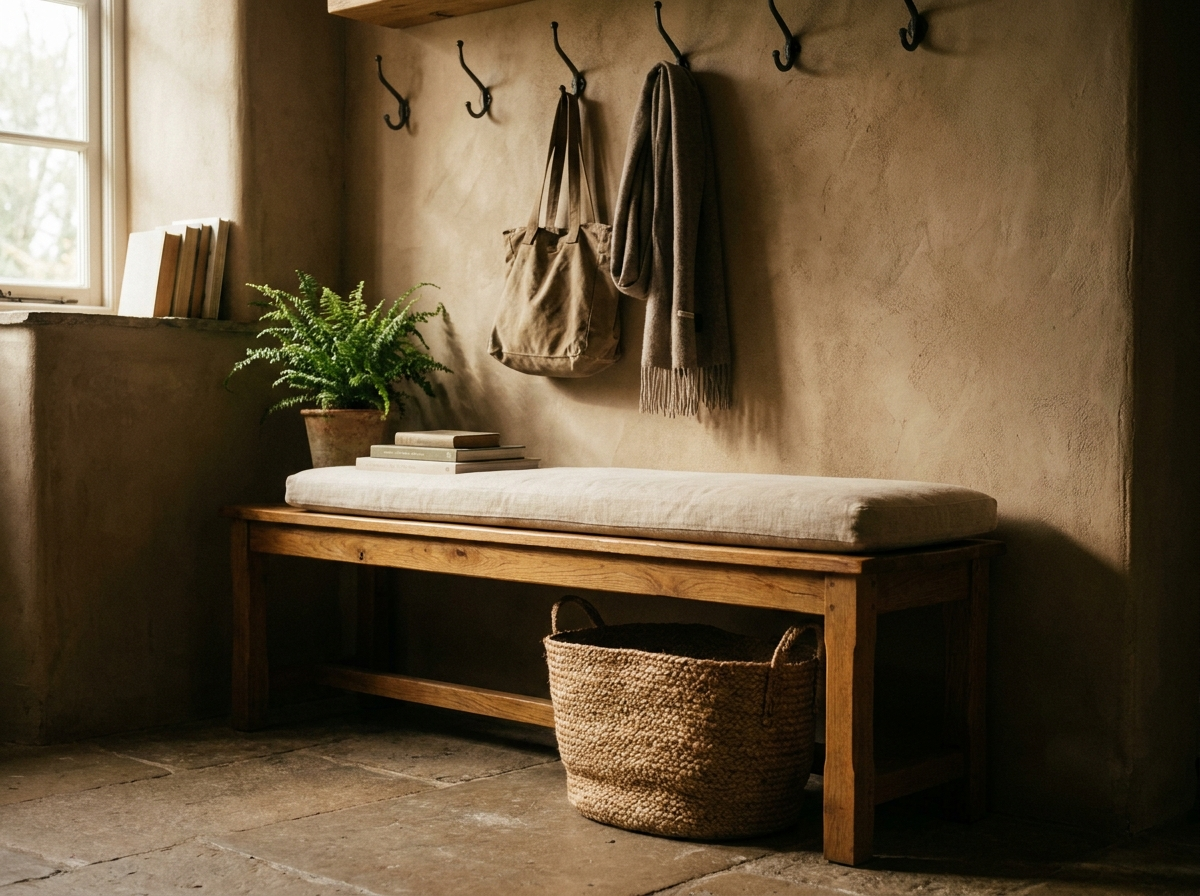
A wooden entryway bench, simple and sturdy
 Reference tutorialCastoramaSee the tutorial →
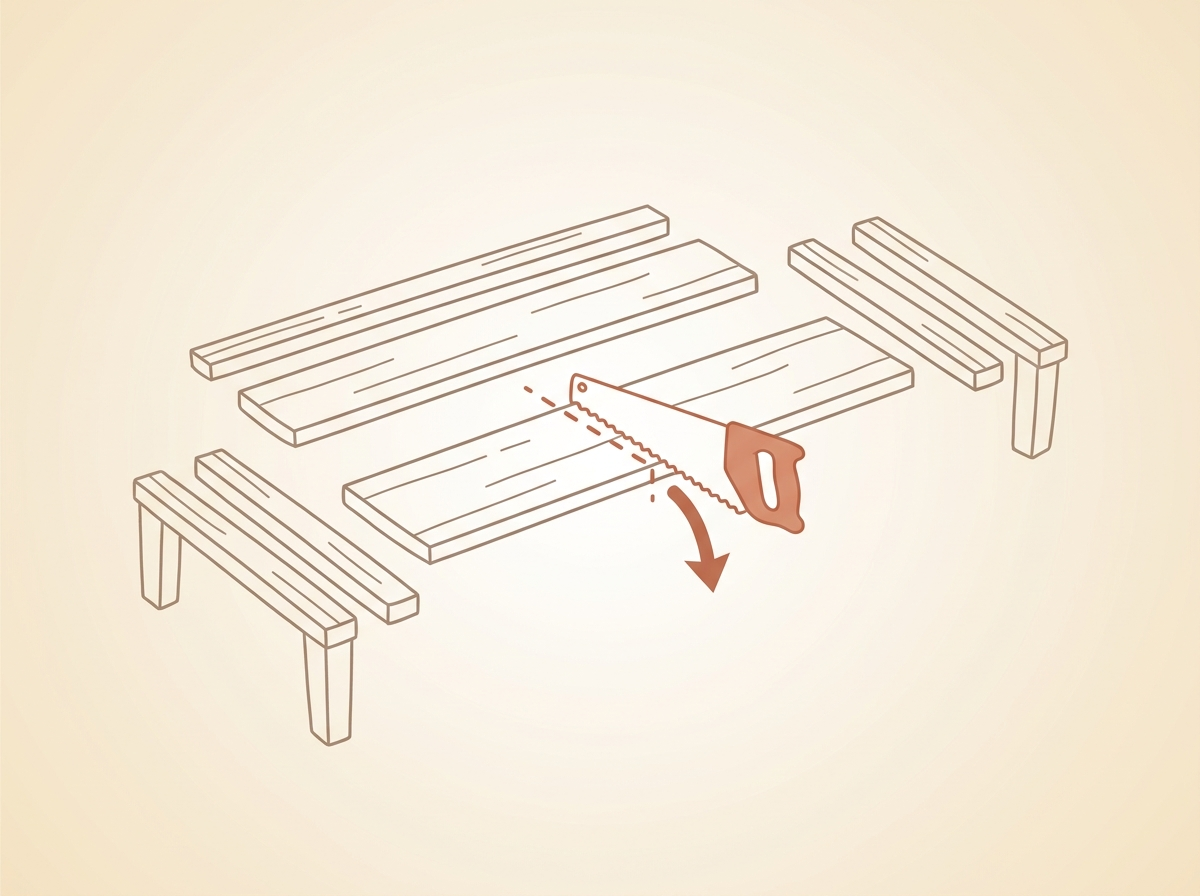
An entryway bench is the ally of rushed mornings: sit to put your shoes on, slide a basket underneath. This one takes an afternoon, cut to your exact width, for far less than the shop. On each diagram below, the highlighted zone shows the current step.
What you need
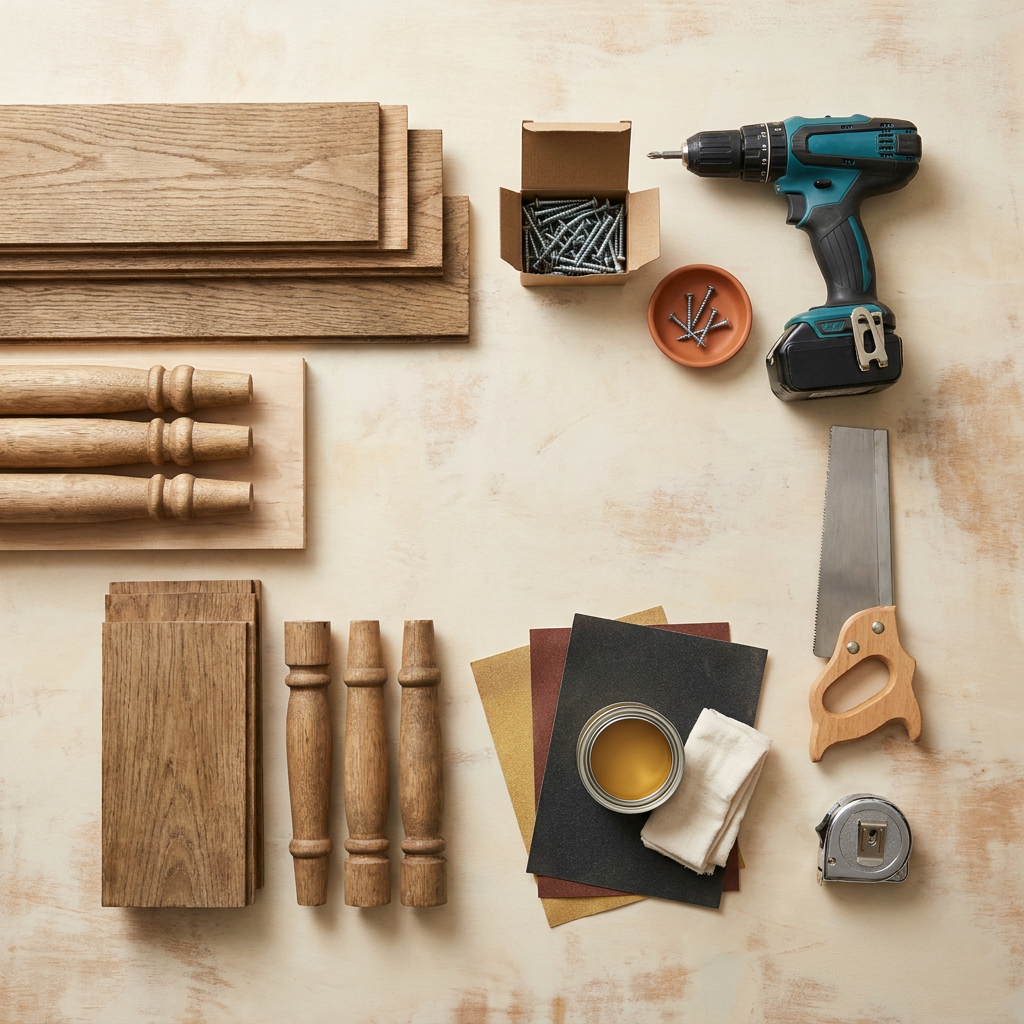
- Solid wood boards (seat + 4 legs), ~€25
- Wood screws + reinforcing brackets
- Drill-driver, saw (or cut in store)
- Medium + fine sandpaper
- Wood oil or stain (~€10)
- Tape measure, pencil, square
Step by step
Cut the pieces
Cut the seat to your chosen width and the 4 legs to the same height (40-45 cm for a shoe bench). No saw? Get it cut at the DIY store, often free.
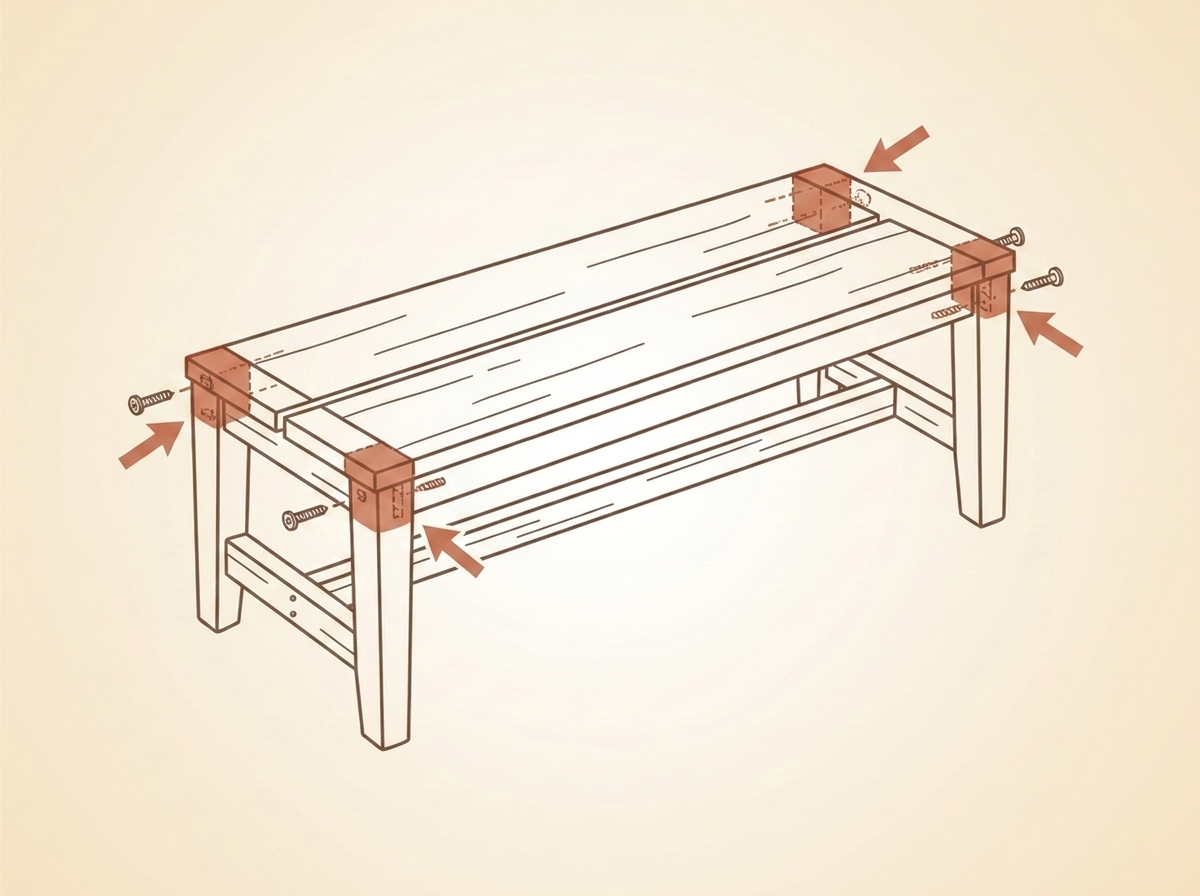
Assemble the bench
Fix the legs under the seat with screws (and reinforcing brackets in the corners for strength). Check it's square and doesn't wobble before tightening fully.
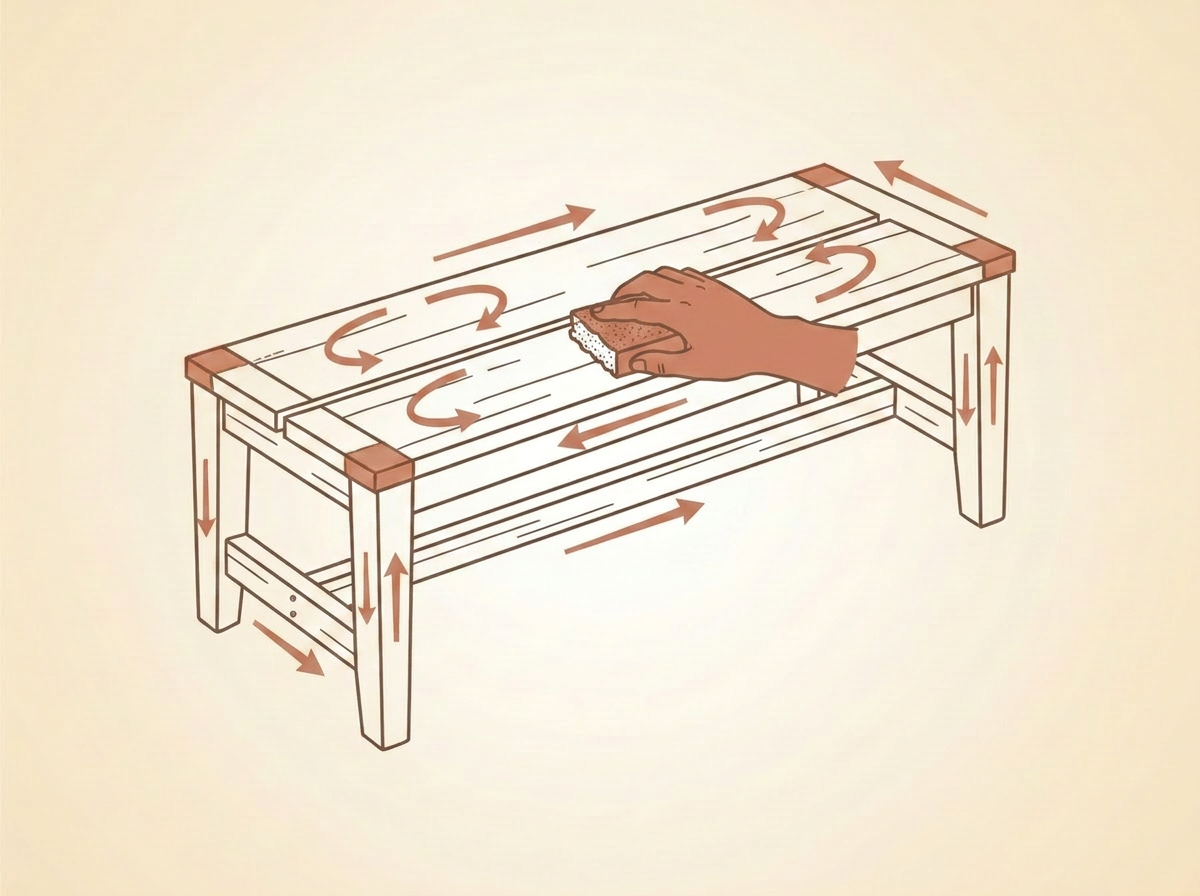
Sand all over
Sand the whole thing with medium then fine grit, focusing on edges to avoid splinters. Dust off thoroughly: a well-sanded bench feels good and takes oil better.
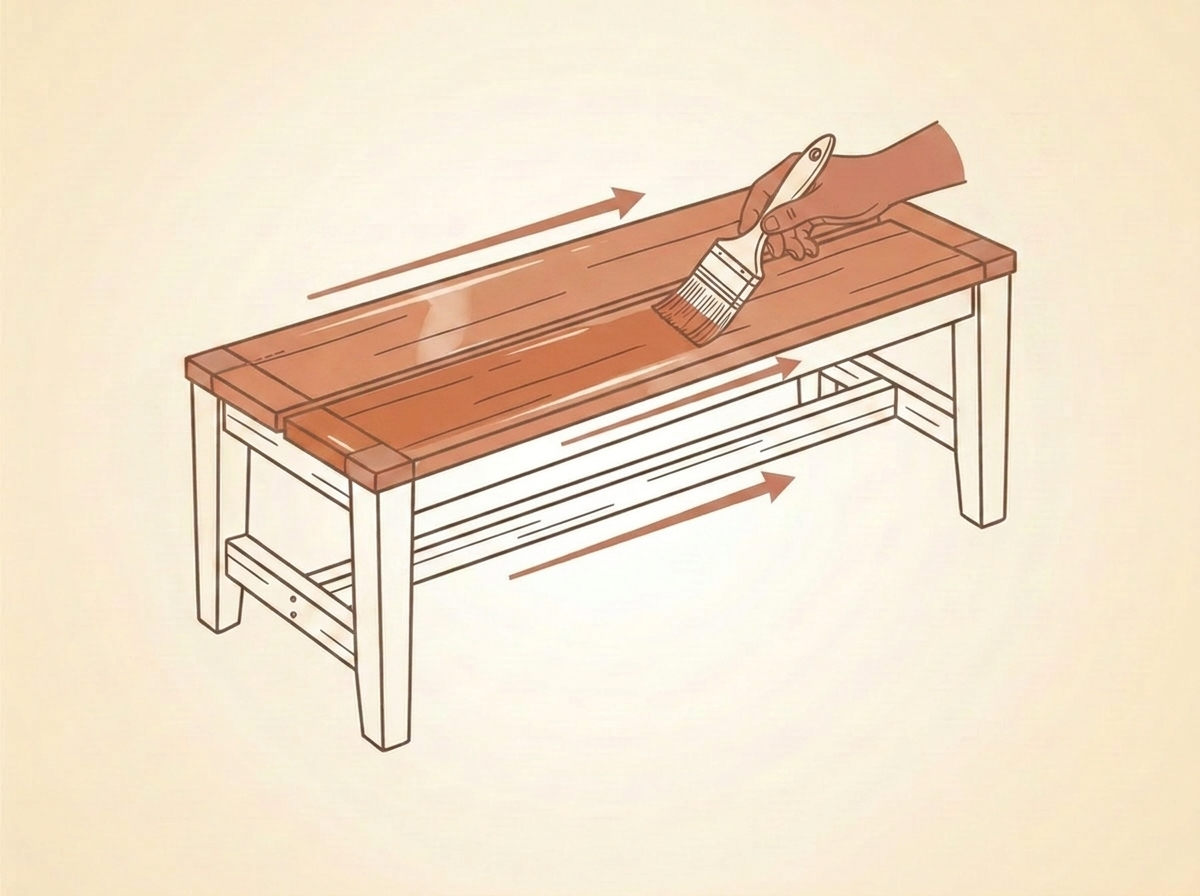
Oil and protect
Brush on oil or stain to reveal the grain and protect the wood. One or two coats are enough, wiping off the excess. Add a cushion and a basket underneath, and the bench is ready.
The detail that changes everything
Strength comes from corner brackets and choosing real solid wood: that's what separates a bench that lasts from one that creaks. And good sanding + oil makes all the visual difference.
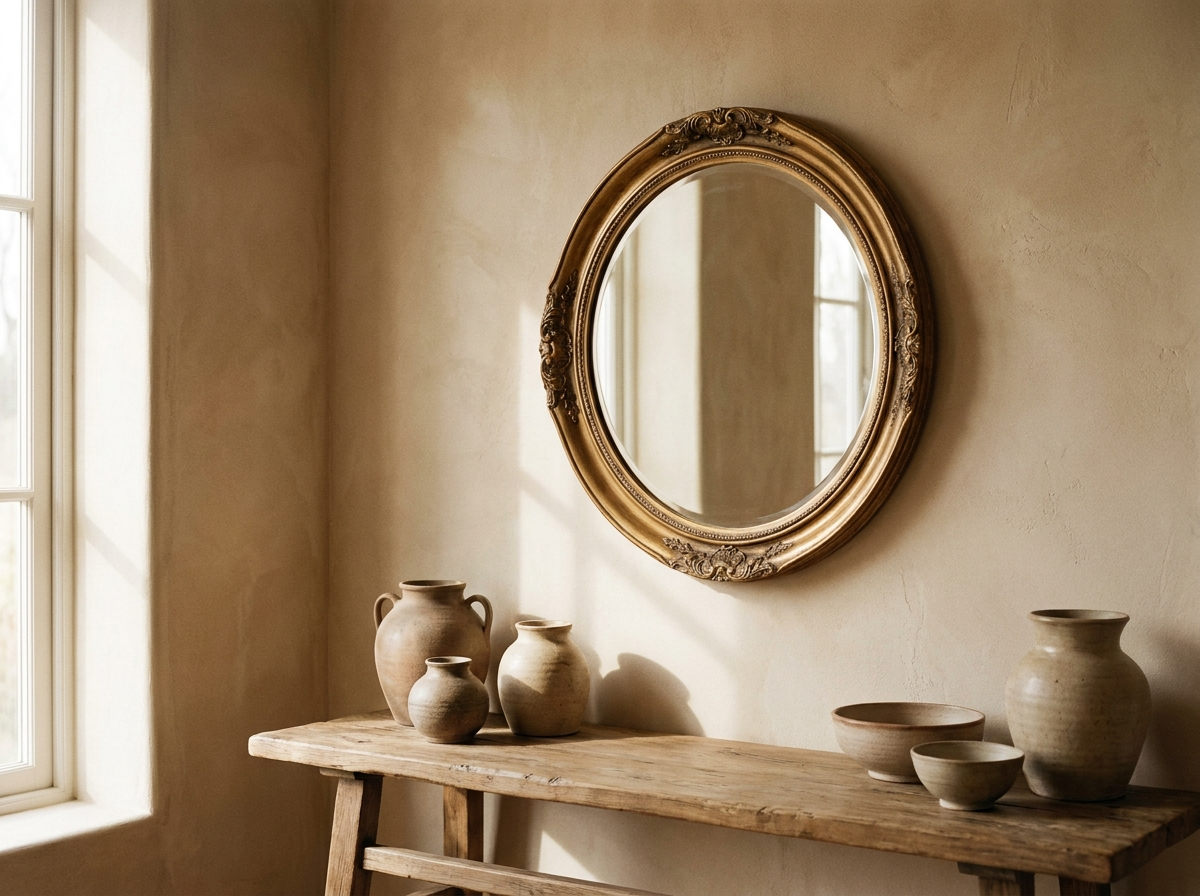
Where does it look best?
In the entryway of course, but also at the foot of a bed or under a window. Top it with hooks for a complete entry corner. Mind comfort: 40-45 cm high is ideal for putting shoes on.
Step-by-step inspired by a tutorial spotted on YouTube. Mind splinters and the saw.
Try it right at home
Snap a photo of your space and preview the result in seconds. Plus find all our decor tutorials on the app, and much more.