Tip
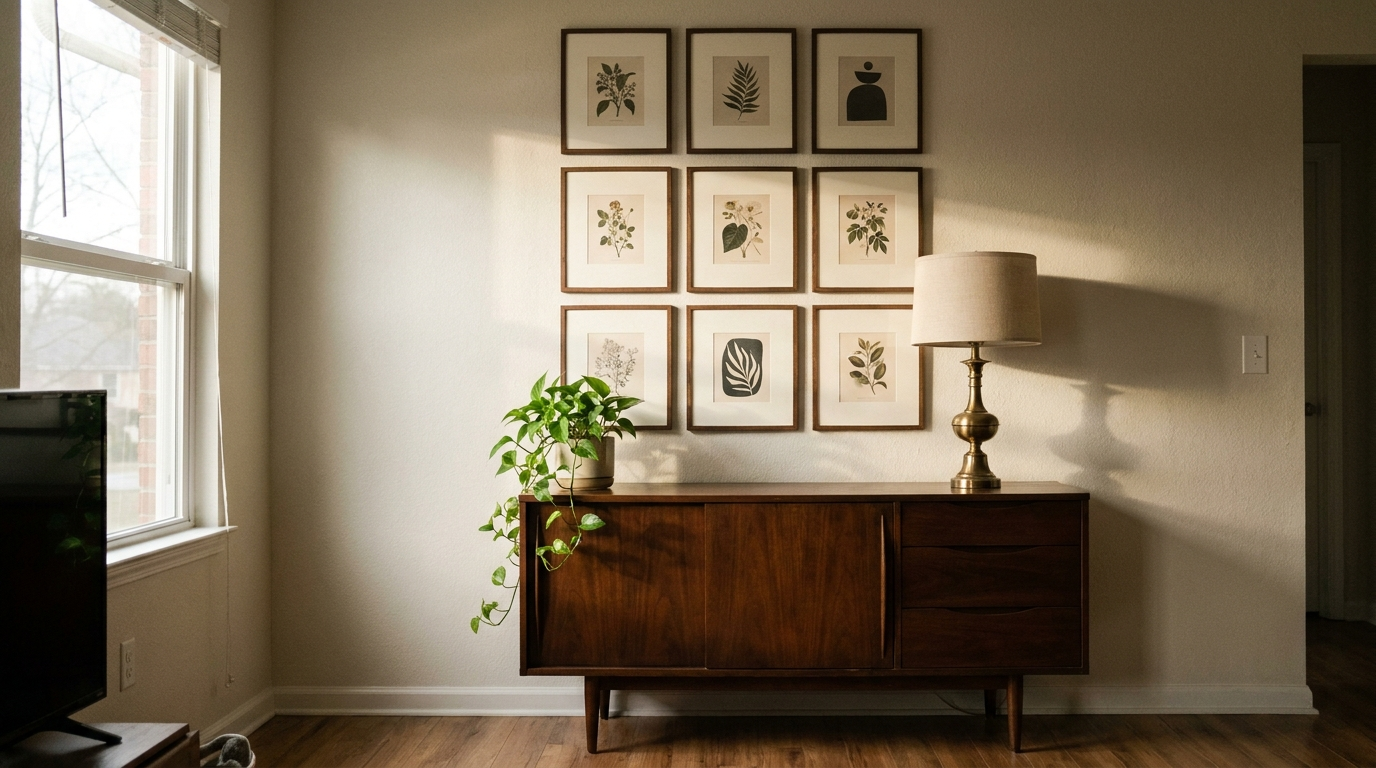
Nail a gallery wall (without the guesswork)
A good gallery wall dresses a room like nothing else. Done badly, it quickly looks messy. The difference isn't talent, it's method. Here it is, step by step.
Lay it out on the floor before drilling
The pro secret: arrange the whole composition on the floor first, move it around, step back, adjust. Once you're happy, transfer it to the wall. You can even trace the frames onto kraft paper taped to the wall to aim precisely.
Give yourself a unifying thread
What ties a mixed wall together is one common element: same frames (colour or material), same image palette, or same white margins (mats). Pick one, and you can mix the rest without it scattering.
The right height: centre at ~150 cm
The most common mistake is hanging too high. Aim for the centre of the composition at eye level, about 150 cm from the floor. Above a sofa or cabinet, leave 20-25 cm between the furniture and the first frame.
Keep even spacing
A constant gap between frames (5-8 cm) instantly looks crisp and professional. Too tight feels cramped; too wide disconnects. Measure, don't eyeball.
Mix frames, but with intent
Mixing sizes and materials (wood, black metal, brass) adds character, as long as you keep the unifying thread. Alternate large and small formats for rhythm, and leave some breathing room around it: a gallery wall needs space.
A gallery wall is 80% prep and 20% drilling. Lay it all on the floor this weekend, take a photo, and you'll know before you touch the drill.
Want to try it at home?
With Spaace.it, snap a photo of your room and get an AI redesign in seconds. Plus find all our decor tips on the app.